

 Facebook
 Twitter


3 Easy and Affordable Home Upgrades
I wrote this blog to share some easy and affordable home upgrades with you that can all be done in the span of a single weekend. Whether you just recently moved in to a new home, or are planning to sell in the foreseeable future, these home improvement ideas can greatly improve the appearance and value of your home with minimal investment and effort.
If you have any tips for these specific projects (or any other home improvement projects), please leave them in the comments below!
Refresh Your Walls
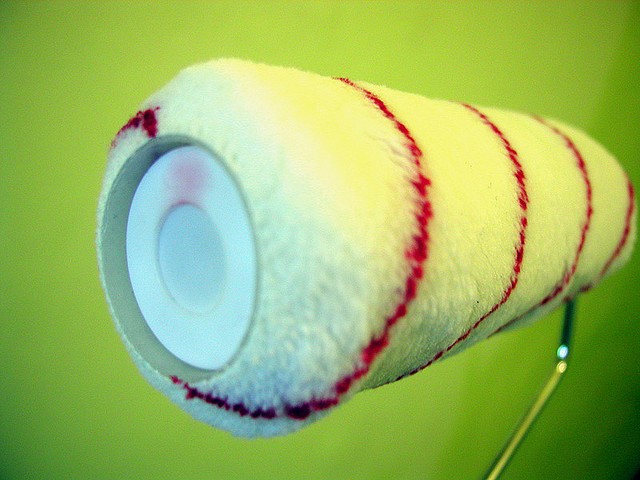
Painting is probably the easiest, most affordable way to freshen up your place and make an impact. You can transform any room in your house with colour. However, if you haven’t done it before, and don’t know where to begin, painting can seem overwhelming and has the potential to go very wrong.
Here are some tips to get you started:
- PREP – the most important part of any successful paint job is prepping the surface. Begin by scraping, sanding, patching, and filing every hole, crack, dent, and surface imperfection. There is no paint, regardless of its cost or colour that will hide a damaged surface.
- PRIME – any pro will tell you that priming is essential if you’re painting over a dark colour. But it’s wise to prime any time you paint, even on a light surface. Priming improves paint adhesion (reducing peeling), blocks stains from bleeding through, and allows one-coat coverage. You can now purchase paint that includes the primer, but nothing works as well as using a dedicated primer beforehand. Also – be sure to prep your floors and hardware by protecting them with canvas and painters tape, so that they don’t get ruined during the painting process.
- PAINT – paint the edges of your walls first using an angled brush, and then use a roller to paint the rest of your wall using an “M” or “W” motions. Don’t take the roller off the wall until you need to apply more paint. Allow for several hours of drying time.
Not sure what paint colour to use? Click here to review Benjamin Moore’s top trends of 2014.
Upgrade Your Lighting
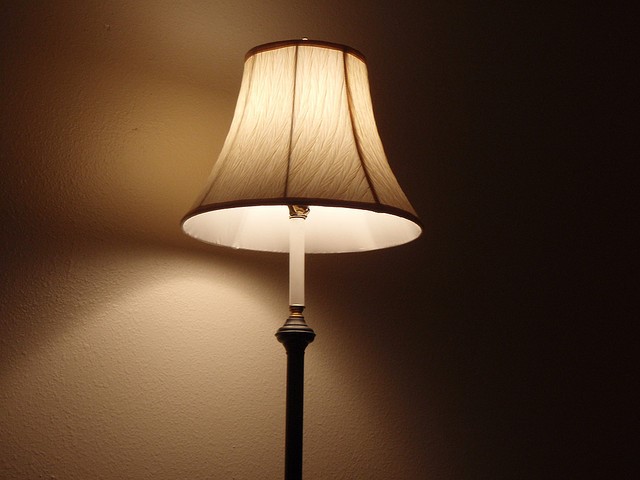
Lighting upgrades are relatively fast and easy to do, making them a good option for a quick home fix. An upgraded lighting fixture can add some oomph to an otherwise drab or outdated room, making it a great option for home staging.
Some easy options for updating your lighting can include:
- Covering naked bulbs with a shade or sconce, which will not only make your fixtures look better, but will distribute light better in the room.
- Changing your bulb to a more energy efficient option, and/or changing the colour of your bulb, modifying the colour of the light emitted. For example, soft lighting is much more pleasant than a harsh glare.
- Installing a brand new type of lighting can be a bit more challenging, but the investment is typically worthwhile and can completely transform the look of a room. For example, you can consider installing under-cabinet task lighting, or perhaps mount a motion-sensor floodlight on your garage.
Restore Your Tile Grout
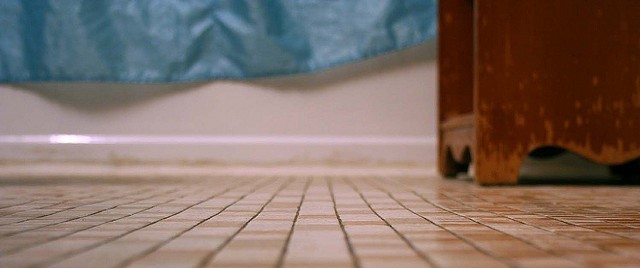
Tile flooring is a very common, practical and efficient option for kitchens, bathrooms and entrance-ways, but tile grout (the stuff used in between each tile to set) tends to attract dirt, mold, water, and even cracks. This can be extremely unsightly and even ruin the look of your floor and your entire room. The good news is that fixing grout is relatively easy (although timely) and affordable to do. Here’s how:
- Remove old grout – there are numerous tools (both power and manual) that you can find at your local home improvement store that are designed specifically for this task. Before you begin, you will want to cover any furniture or appliances in the room that you wouldn’t want damaged – because there may be some flying debris. Then, make a center incision down the middle of each grout line with your tool, and using firm pressure, use a scraper to eliminate any grout that you will be replacing. Be sure to chip away any remaining grout around the edges of the tile.
- Clean grout lines and tiles – once you have removed the old grout, you will want to clean out the lines with soap and water until it’s 100% removed. If you are planning on keeping your existing tiles, immediately clean those as well.
- Mix grout – following package directions, mix your new grout in a bucket. Its final consistency should be similar to icing. The grout will begin to set within 15 minutes, so you will have to work quickly or mix multiple small batches to keep it fresh.
- Apply new grout – using the appropriate tool that you bought at your local home improvement store, apply the new grout, working across grout lines at a 30 to 45 degree angle. Press the grout well into the cracks. Once all grout lines have been filled, use a damp sponge to ensure the surface of your tiles are wiped clean. You can also use a toothbrush to pack the grout down into the cracks and give it a nice finish.
- Set grout – let your new grout set overnight. Give it a final wipe down with a dry cloth in the morning. Apply a grout sealer. Ideally, you should avoid excessive contact with the grout for 4-5 days so that it sets perfectly. Voila, you have restored your tiles!
Add a Comment
Direct: 613.721.7434 | Office: 613.733.3434 | 5 Corvus Court.

Interconnected Real Estate Software for Brokers and Agents